
Building a Custom Android System with eBPF Support

Android OS is using Linux Kernel which means it can run eBPF programs as well. eBPF for Android can be useful for observability (tracing system calls or network events), security (custom security policies or monitoring for malicious activities) and etc.
In this article I’m going to cover how to setup Android to experiment with eBPF. We will modify Linux Kernel in BlissOS (a fork of Android-x86) to add eBPF support and use QEMU to run our modified version of BlissOS. To build Android we will need to have Docker installed and to run it we will need QEMU. Code is located in REASY/android-ebpf.
Prepare BlissOS for eBPF
BlissOS comes with a good documentation of how to build it. For this experiment I’m going to use the version 15.x, Build bliss os 15.x. I want to express my gratitude to BlissOS team for the help they provided in their Discord server BlissLabs.
Make sure you have around 400 GBytes of free disk space! To make the build enviroment reproducible I created this Dockerfile that uses Ubuntu 22.04 as a base image. After building and tagging it as android_builder:0.1 we’re ready to start! The built time depends on your hardware, it can take more than 2 hours if your system isn’t powerful enough.
Initialize and synchronize repo
BlissOS uses repo tool, the tool that simplifies the work across multiple Git repositories. The docker image we prepared already has it. First, we run that Docker image with mounted emtpy host directory /media/android_dev_disk/arcadia-x86 to /aosp in container. (You can instead decide to create and use Docker volume, however, mounting host directory is easier for me because I will use IntellJ IDEA in my host machine to navigage in BlissOS codebase after synching repo.)
sudo docker run -v /media/android_dev_disk/arcadia-x86:/aosp \
-w /aosp -i -t android_builder:0.1 
Now we are ready to initialize repo
repo init -u https://github.com/BlissRoms-x86/manifest.git \
    -b arcadia-x86 --git-lfs
The next step is to synchronize the repo. Note the argument -j, it controls the parallelism. It can take up to 15-20 minutes to sync-up depending on your network.
repo sync -c --force-sync --no-tags \
   --no-clone-bundle -j6 --optimized-fetch --prune
Add Intel libhoudini
libhoudini is a proprietary ARM translation layer for x86-powered Android devices. It allows an app that has NDK binaries for ARM, but not x86, to still run on x86 hardware, albeit not as quickly as it would with native x86 binaries. Clone supremegamers/vendor_intel_proprietary_houdini to vendor/intel/proprietary/houdini and use branch wsa-12.1
git clone --single-branch --branch wsa-12.1 \
    https://github.com/supremegamers/vendor_intel_proprietary_houdini \
    vendor/intel/proprietary/houdini
Setup FOSS apps for x86/x86_64 (optional)
Run the command below and choose 1) ABI:x86_64 & ABI2:x86
cd vendor/foss && ./update.shBuild BlissOS 15.x
Android Kernel in BlissOS does not have eBPF enabled. To enable eBPF and tweak other parameters we first need to apply these patches:
eBPF Linux Kernel Config changes, patch fix__enable_eBPF.patch
CONFIG_DEBUG_INFO_NONE=n enables debugging information in Kernel build
CONFIG_DEBUG_INFO_DWARF5=y generates DWARF v5 debug info
CONFIG_DEBUG_INFO_BTF=y generates BTF type information
CONFIG_DEBUG_INFO_BTF_MODULES=y generates BTF type information for kernel modules
CONFIG_HEADERS_INSTALL=y installs uapi headers to usr/include. This is needed to build libbpf
CONFIG_FTRACE_SYSCALLS=y enables syscall tracing
CONFIG_IKHEADERS=y enables kernel headers through /sys/kernel/kheaders.tar.xz
Increase of BOARD_SYSTEMIMAGE_PARTITION_SIZE from 4768.37 Mbytes to 7629.39 Mbytes, patch
Use system tools instead of toybox 0.8.4-android that comes with build tools, patch
You can see that tar and cpio are failing because they do not recognize new parameters


Run /patches/apply.sh to apply those patches

And then prepare environment
export BLISS_BUILD_VARIANT=foss
export ANDROID_USE_INTEL_HOUDINI=true
source build/envsetup.sh

And build it
lunch bliss_x86_64-userdebug
make blissify iso_img -j$(nproc --all)
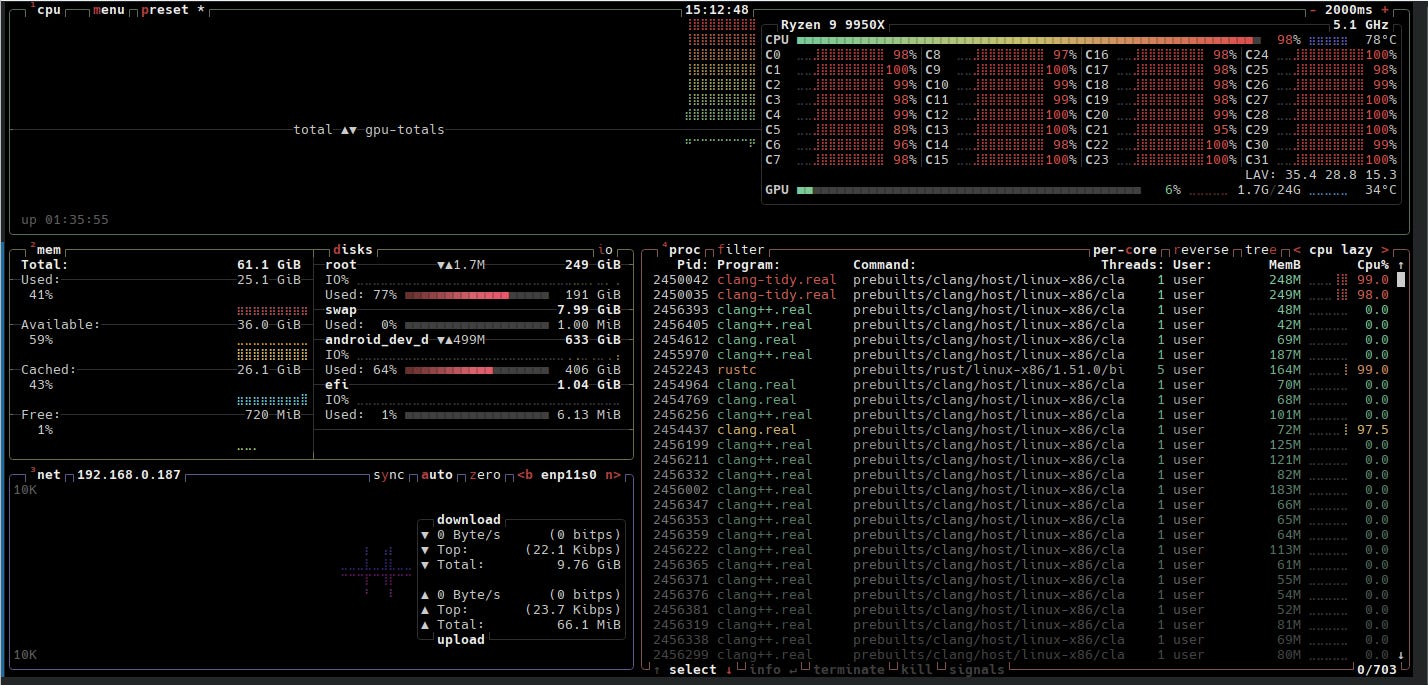
On my AMD Ryzen 9 9950X it took ~55 minutes to get the ISO image ready. It stresses CPU quite well :)

Run our custom build ISO in QEMU
We can use QEMU (v.9.2.1) to run Android on Ubuntu host machine. The command below uses our custom image at path /media/android_dev_disk/arcadia-x86/out/target/product/x86_64/Bliss-v15.9.3-x86_64-UNOFFICIAL-foss-20250420.iso. We will select “Try BlissOS 15.9.3.” for a live version that does not require installation.
qemu-system-x86_64 \
    -enable-kvm \
    -machine q35,vmport=off \
    -m 4096 \
    -smp 4 \
    -cpu host \
    -bios /usr/share/ovmf/OVMF.fd \
    -cdrom /media/android_dev_disk/arcadia-x86/out/target/product/x86_64/Bliss-v15.9.3-x86_64-UNOFFICIAL-foss-20250420.iso \
    -usb \
    -device virtio-tablet \
    -device virtio-keyboard \
    -device qemu-xhci,id=xhci \
    -device virtio-vga-gl \
    -device AC97,audiodev=snd0 \
    -display sdl,gl=on \
    -audiodev pa,id=snd0\
    -net nic,model=virtio-net-pci